Encased drawings

I saw these glass beads during my last trip to Montreal and felt compelled to bring back a few. They’re normally used as pendants but I will remove the brace and glue a magnet at the back.
They were hard to photograph! I tried various light sources but it’s still not easy to see what they really look like. The drawings appear much clearer than what you see here.
Here are some pictures of the drawings before they got encased…


Acrylic on paper
In the previous post, I was asked how I paint with white on black. Here’s how it goes…
A big round brush is reserved for water and smaller ones for the paint (acrylic or ink). I start by creating shapes with the water. I will sometimes draw a big circle and then, using paint, draw another circle inside of that space. The paint then expands, creating a fuzzy outside, just like with this white on black octopus. You can also paint outside the water form; the exterior will be crisp, and the interior will look like these eggs/stones. I usually add many transparent layers, inside and outside the initial form. You can also add a drop of water to your medium once it’s on the paper; it repels the paint, creating darker areas with interesting shapes.
However, this applies only to certain types of paper. The tablet I just bought is designed for charcoal. It’s the one I used for the pieces above, and the paint does not react at all like on the black paper that I normally work with. The latter has a texture similar to a heavy Canson and it’s a bit expensive. I wanted to try something more affordable, hence the new tablet. This paper does not allow you to work in the same way with water. It absorbs it right away; the paint stays put and does not expand since the liquid dries so quickly.
I willl leave you with this photo taken during one of our last walks. The vegetation looked like a big brown fluffy carpet and it caught the afternoon light in a beautiful way.
Have a good weekend!

Deliquent me

Acrylic on paper

Acrylic on paper
I have been deliquent. I drew on my working hours yesterday afternoon (chuuuut!). My boss would not be happy about this, but since I am self-employed, I say it’s ok for this time. And it felt really good. :-)
I’m usually quite self-disciplined when it comes to work but yesterday afternoon, there were no emergencies, which was a good thing since I could not get anything done.
Drawing these egg/stone like forms – while it was raining like crazy outside – finally cleared my mind.
*****
The multi-talented Elsa Mora has published new work on her blog Art is a Way. I love her organic shapes and the way she works with paper. Her talent doesn’t stop with these paper sculptures; she also paints, embroiders, works with porcelain and the list could go on. Her blog and Flickr page are worth seeing!
Playing with textures and making provisions


Playing with forms and textures… I had leftover cards from November’s DIY postcard SWAP and experimented with acrylic on paper collage.


Local pear and apple compote, braised tomatoes, pesto, bolets à la provençale: we are stocking food like little squirrels.


Ever feel like you’re beeing watched?

;-)


Acrylic on paper
It had been a while since I used a brush, my hands were a bit stiff!
Have a look at pRiyA’s beautiful illustrations for the book My Journey. She also shares her creation process, which is most interesting!
Adventures of a Teapot
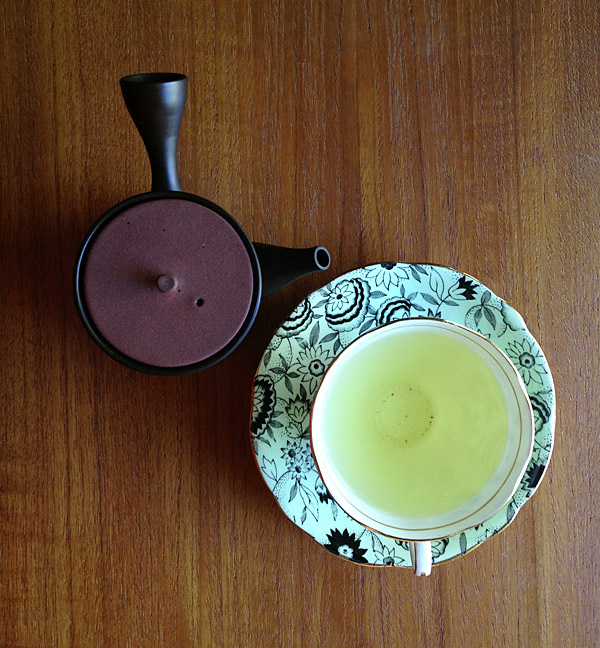
I bought this beautiful handmade teapot last autumn. It must have taken me at least an hour to decide which one I would go back home with. It’s not so easy to choose! You have to take into consideration the look of the object, the use intended (what quantity and what sort of tea you drink), the size of the teapot (is it easy to pour with just one hand?) and so on. After much deliberation (the tea shop owner was very helpful and patient), I came back with this one.
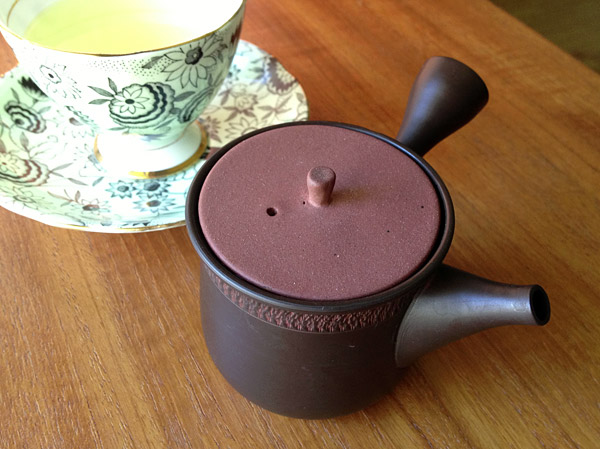
But you know what? I broke the lid the very first time I used it.
So…. Two or three ceramic classes later and with the help of my teacher, tadam! Here is my teapot, with a lid again! It’s not as pretty as the original one, which was dark brown, much more delicate and a bit convex, but I’m still very proud of it. It was not as easy as I thought.
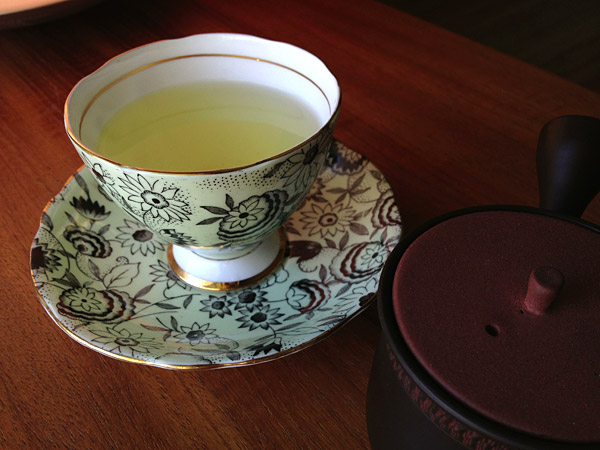
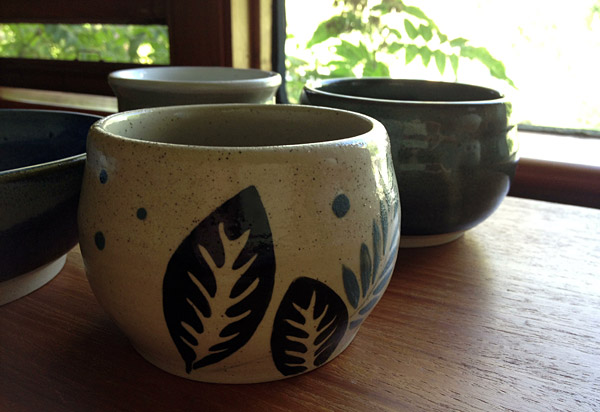
This is my favorite tea cup at the moment. I usually like them more rustic but this one caught my attention from far away at our village’s flea market.
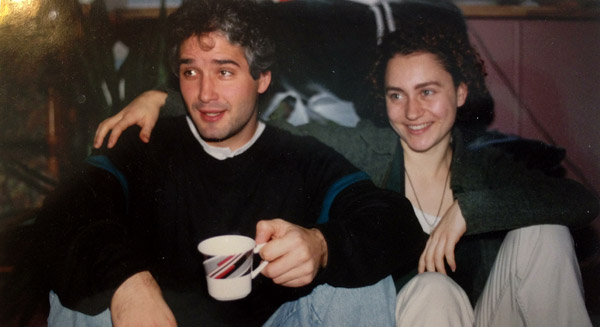
Also, last Sunday was our 16th anniversary. This is a picture of Nicolas and I that must date from our first year together!
Another cocoon
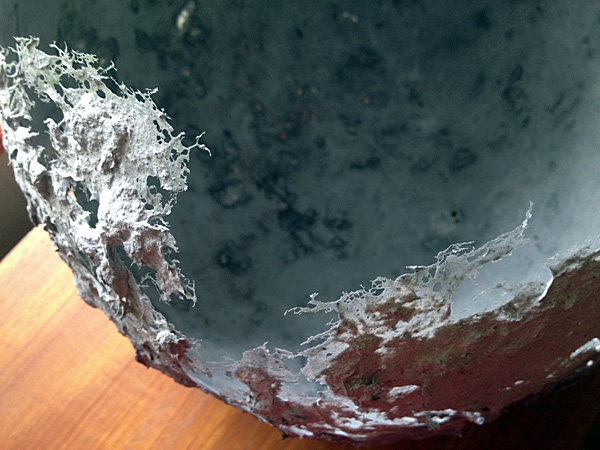
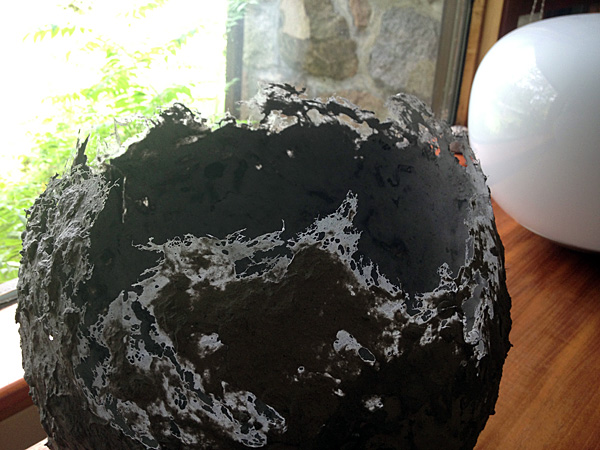
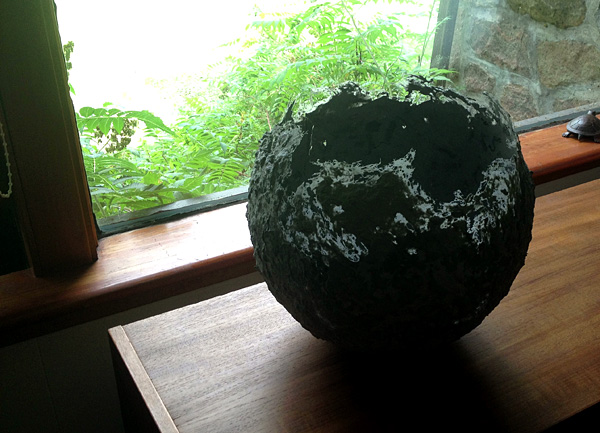
Cocoon made out of papier mache
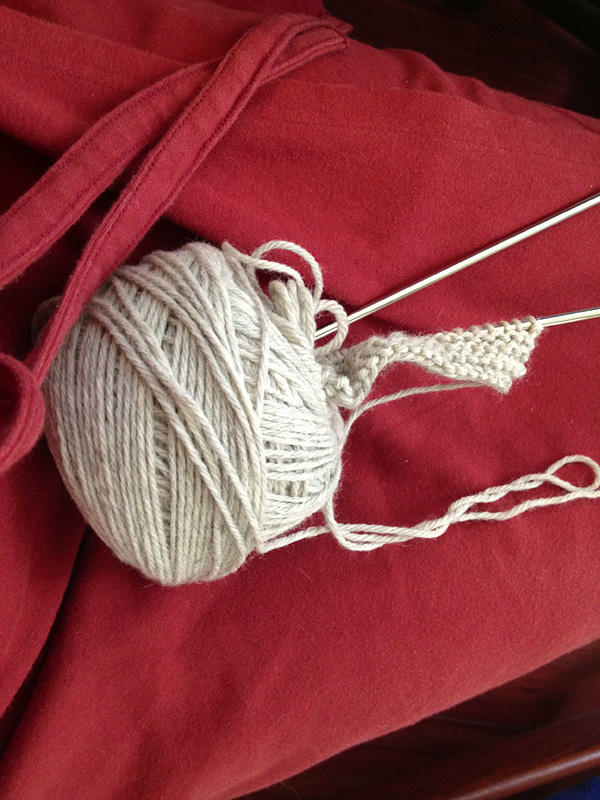
And learning how to knit. They say it’s never too late?
Have a good weekend (it’s a long one around here!).
Pieces from this spring

I never showed you what happened with the pieces I was working on this spring… Here they are!
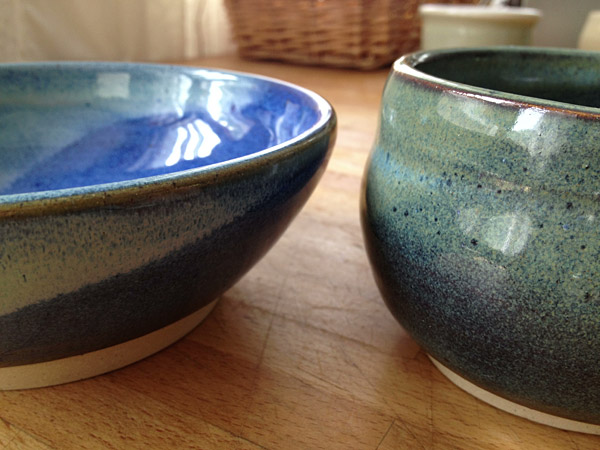
This time, I experimented with glazes as well as underglazes.
Cocoon
Playing with paper and string…

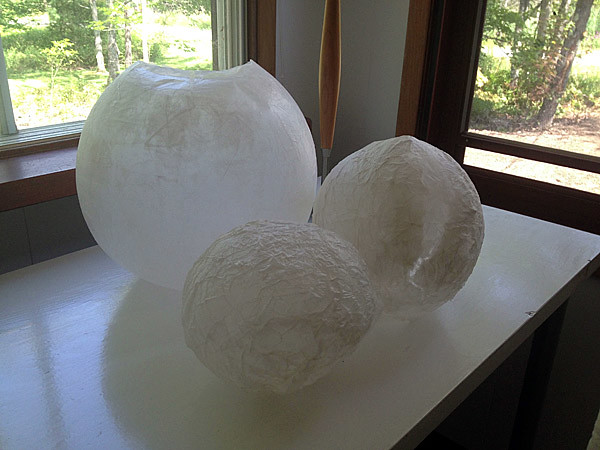
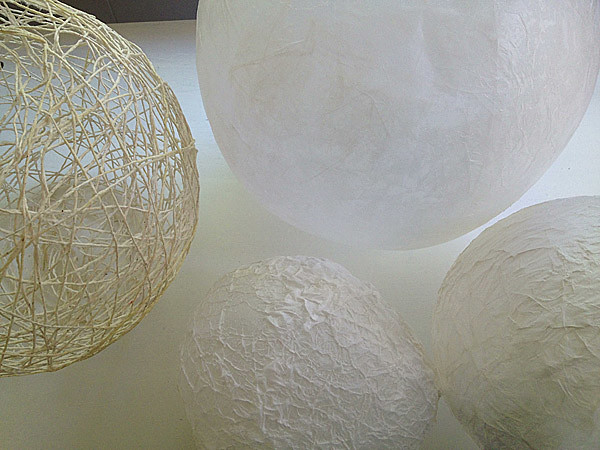
Little cocoons made out of tissue paper, string and glue. :-)

Now you see me, now you don’t.
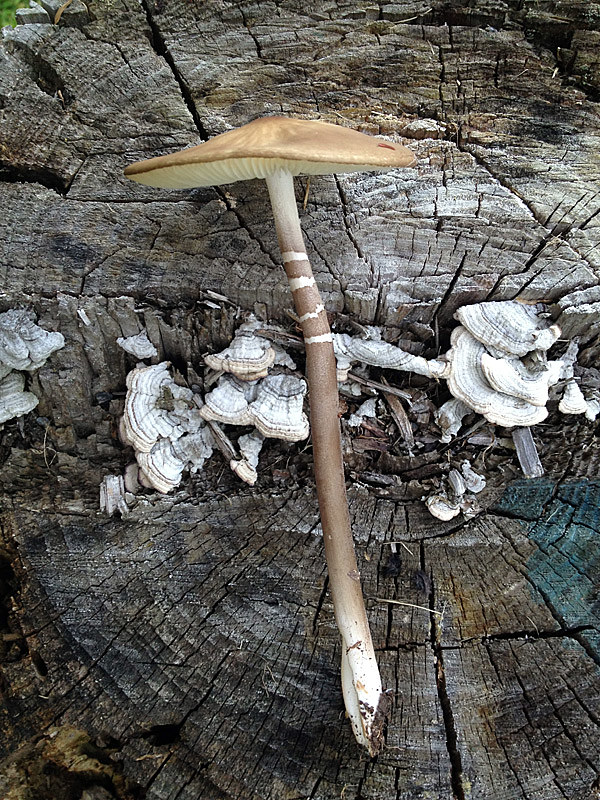
Entoloma: not edible, but very pretty
More pottery
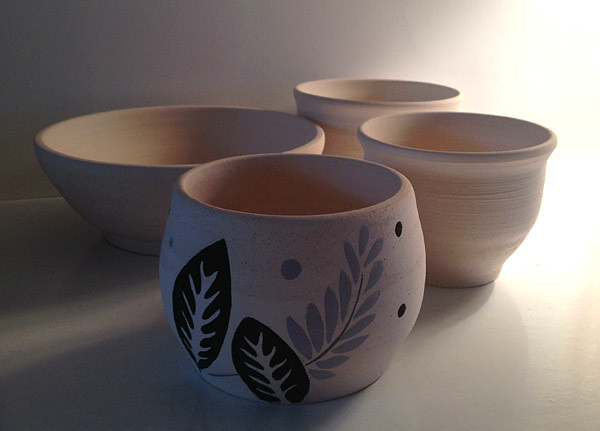
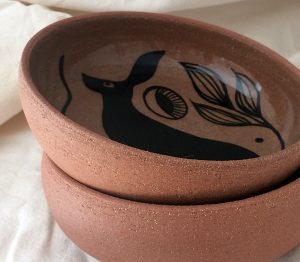
Underglaze on clay, before the first firing (unfinished pieces)

Underglaze and transparent glaze on clay
Underglazes and transparent glaze on molding clay
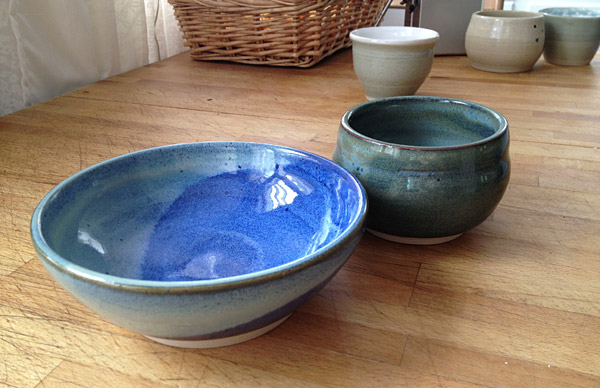
You can see in the last photo that the piece I was talking about in the previous post did not come out as I would have liked to! But it’s ok, it was a first time and I know now a couple things like:
- I have to be careful with the brush strokes because they will show if there is only one coat of underglaze;
- It’s better to apply two or three coats if you want a smooth and even finish (except for black).
We’ll see how the bowls from the first photo will end up, now that I know better!
My throwing technique is sloooooowly improving; the walls of my pieces are getting a bit thinner and I can throw a cylinder once in a while. :-)
Oh and by the way, since the last post, we moved in a new house. It’s bigger and I have a room with a door that can be shut. It means I can now work and draw without being invaded!
It’s fascinating to see experts throw:
Shoji Hamada
Throwing a large bowl (Hsin-Chuen Lin)
A mix of coiling and throwing:
Potters of Japan
Before firing
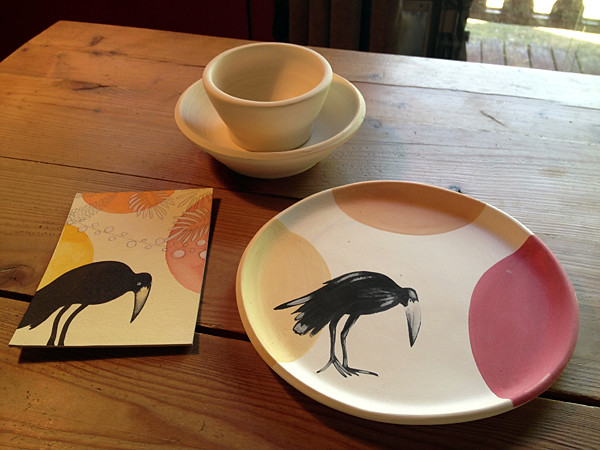
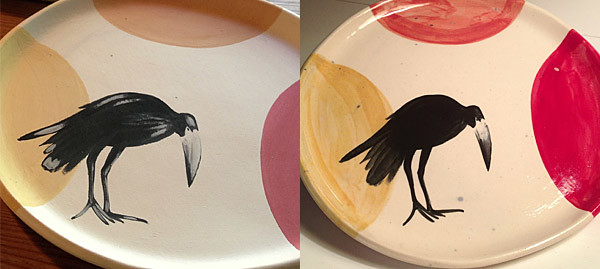
I started pottery lessons late January. What you see here are the first pieces at tried my hand at. The bowls were made on the wheel and the plate was molded.
Throwing feels a bit like meditating. The movement is hypnotic, you have to be focused on what the clay has to say, and lesson learned recently: don’t get attached to the piece you’re working on! It seems that the best results are obtained when you let go. ;-)
My teacher lent me her underglazes so I could explore painting techniques on the biscuit. It was a bit complicated since clay absorbs the liquids right away and the texture of the underglaze is similar to gouache, maybe a bit “dryer”.
So, this is the plate before it goes through the last firing, we’ll see how the colors evolve. I am curious to see if the brush strokes will show and if the contours will stay clean.
If you live in the Eastern Townships (Brome-Missisquoi area) and you wish to learn pottery, contact Qita Reindler. She’s a great teacher!
 Follow me on